boots

boots
Farming Family

Wednesday, January 28, 2015

~Apple Pie~

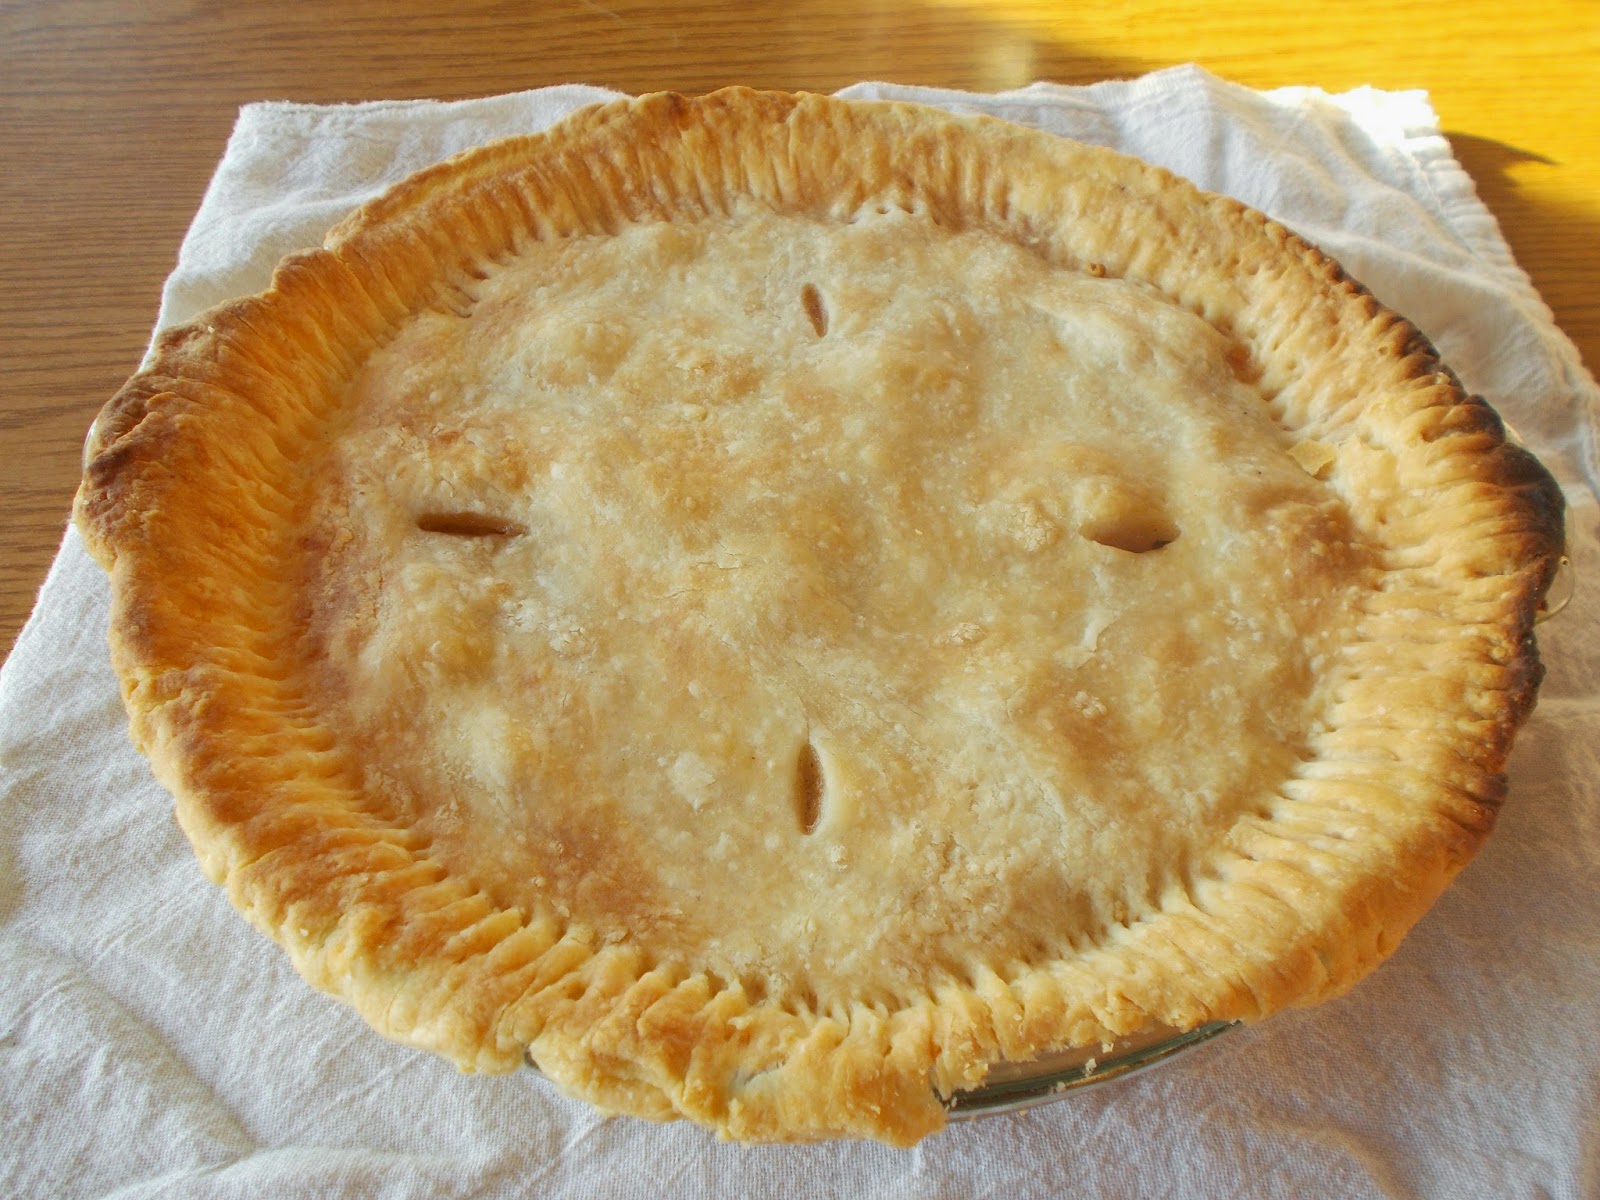
I baked an apple pie on Monday in the cookstove. It was fun! Baking really is not that much different than in a modern oven, now that I'm getting used to it. If only life in today's world would allow me to use it every day. :( I wish life would slow down, it's too busy and too fast!

   
Crust tip: If you roll your crust onto your rolling pin, instead of lifting it with your hands, you won't get tares and thin spots. I think I read this in one of my old cook books, it really works.
 Simply unroll it over your  pie plate


 Top with some freshly whipped cream and enjoy!!!
I love fruit pies! I want to try blueberry next. :)

Monday, January 26, 2015

Batten Down The Hatches!!!

Blizzard warnings for some areas of New England. Snow accumulation for Maine anywhere from 1-4 feet, depending on the area. It is supposed to be quite windy, so there is a good chance we will lose electricity. Our line is on the ''low priority" list, so we could be out of power for several days.

 Today's to do list:

~ Button up the barn
~Stack wood on porch for cook stove (source of heat, cooking, and hot water with no electricity)
~Fill a few gallon jars with drinking water and put in fridge (I wish I had a 5 gal. Coleman water cooler!)
~Fill a few jugs of water for cooking/dishes
~Fill 5 gallon buckets for animals
~Fill milk jugs with water for the toilet
~Top off lamps and lanterns with oil
~Catch up on all the laundry
~Charge cell phones
~Bake a pie and watch it snow :)


I hope everyone stays safe and warm in the coming days!

Thursday, January 22, 2015

Home Grown Roasted Chicken

Thaw chicken and rub all over with olive oil.
 Heat skillet on stove top, grease with a little olive oil. Rub chicken liberally with coarse sea salt and fresh cracked pepper.
 Sear chicken, presentation side down (breast side down) 'till golden. Sear other side. Searing the chicken before roasting caramelizes the natural sugars in the skin and meat, bringing out a delicious flavor. I learned this from a youtube video, and have roasted my chickens this way ever since, it really makes a difference in flavor!
Keep a nice hot fire going so the oven temp doesn't drop in the middle of roasting your bird. "Biscuit" wood works great for heating up your oven (small, round, seasoned wood). Juniper burns really hot, too hot for my preference to burn it alone. But mixing it with hardwoods seems to work well. I'm still experimenting with different types of wood.
Roast the bird at about 350*-400*. At one point the temp dropped to 300*, I just added more wood and brought it back up, it didn't seem to bother it any.
For about the last half hour, I placed a sheet of aluminum foil on top to keep it from burning before it finished. Also, I kept moving the pan around, closer or farther away from the firebox and the back of the oven as needed.
Take chicken out when nicely golden and meat thermometer reads 155*, as it will reach 165* while it is resting. I usually check in the breast and thigh.
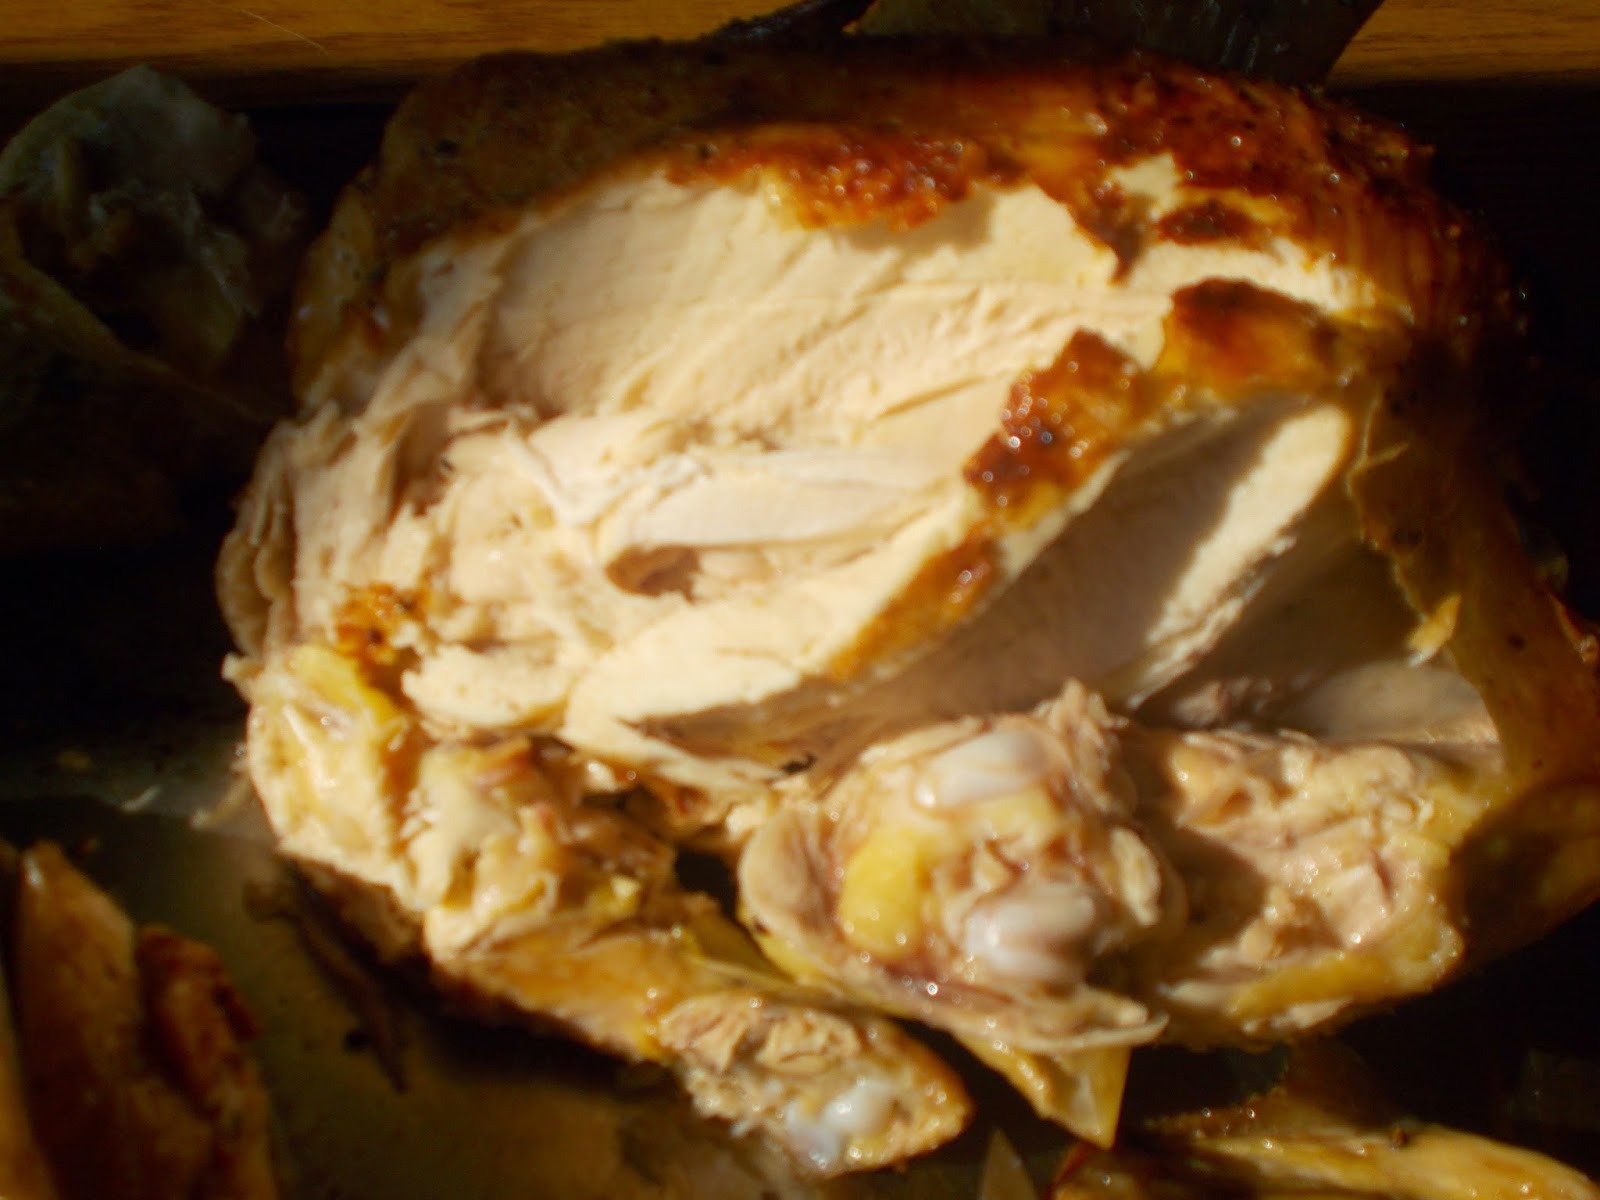
Moist, juicy and flavorful! Mmmm!
I tried to capture how it looks after cooking it this way, but the pictures don't do it justice ;-)
I added flour and water to the drippings, and made gravy for the rest of the week. There was enough salt and pepper in the drippings that I didn't need to add any spices. After picking over the chicken, there is plenty for Darlin to take sandwiches to work in the woods all week and some for a few meals besides. :)
I am really enjoying trying out different dishes in the cookstove. This is the first time I roasted a chicken with it. I must say though, I think I know a couple reasons why Caroline Ingalls baked one day a week: You have to tend the fire every so often, and check the food frequently. And you have to have a HOT fire going to heat the oven, which really heats up the kitchen! I can't imagine what it would be like in the Summer!
   I do wish the stove top didn't always look icky when I snap pics while cooking. But as the surface gets hot, it burns off the nice, shiny coat of shortening I put on it, and then there are the unavoidable grease splatters! So after it cools to a gentle warm temp in the evenings, I grease it again like I do with my fry pans before I put them away (only I grease those with olive oil, shortening in my food or pans creeps me out, yuck!) Yup, I'm an odd one ;-)

Wednesday, January 21, 2015

Baking in the Wood Cookstove

Sunday we had a nice fire going in the cookstove to warm up the kitchen a bit. I couldn't help myself, it seemed like such a waste not to do some cooking on it. After making breakfast, I also baked homemade pizza (I was so excited to find that my pizza pan fit in the oven!) and finally, I dared to try bread! The thought of baking bread in the wood cookstove was intimidating, for some reason. But I am glad that after almost three years I finally did! I just wish I'd done it sooner!
   Baking with wood, as I have found with my cinnamon rolls, you have to constantly turn/rotate your pans. I was a little too slow on the pizza and the crust got dark on one side, but it was still good.
 I was very happy with how the bread turned out though! I'm thinking for future loaves, I'll switch to tin/,metal bread pans for this stove. The lowest setting for the rack is too high for the bread to bake without touching the top and getting squished, so I have to put them on the bottom of the oven. Which means, unlike an electric or gas oven, there is no hot air moving beneath the pan. And with the glass that I used, the bottom took a long time to bake, I almost had to put foil on the top to keep it from getting too dark. So I think I will have better results with metal pans because they are thinner and the outside bakes faster than in the glass pans. Can't wait to try it out!
  Yesterday I roasted a chicken in the oven, I'll do a post on that later ;)


 Hot creamy wheat cereal with strawberries, cinnamon and vanilla. Yummy! Jackson loves this stuff! I change it up now and then by using maple syrup and brown sugar, and different berries. It is one of his favorite breakfasts. :)

Monday, January 19, 2015

DIY Vanity

My Mom and I got a desk, probably close to 15 years ago now, for $4.00 at a yard sale. I've had it in the downstairs guestroom/ office for a couple years, and haven't used it for much. A few months ago I decided I'd really like to have a vanity to keep all of my make up and hair things in, for the sake of having my own little space and to relieve the storage dilemma in the bathroom. I bought some white paint for $10.00, foam board for $1.77 and got busy.


   BEFORE:
This is after I unearthed the top, which was piled with papers and odds and ends of junk. It was sitting with boxes of baby clothes a neighbor gave us, give away items, things to return, and more baby clothes. So you can see, it wasn't doing much.


AFTER:
 I had some silver spray paint from a previous project to paint the knobs. The silk flowers have been in various places throughout the house. Originally from Dollar Tree. I thought it made for a nice, feminine touch.
 I saw several people on YouTube using foam board to make custom, affordable dividers for all types of drawers. So genius, I wish I'd thought of it! I tacked it with tape, until I am sure it is how I want it, then I will glue gun it in place. I used some leftover batting from a sewing project to line the jewelry compartments to keep things from sliding everywhere and getting tangled up. At first, I had baskets in the drawers to hold things, but it wasn't working very well. The baskets weren't the right size, so I was losing lots of space. And the little stuff was constantly getting lost.

Hair tools and jewelry in the large, top drawer

 Makeup in the small, top left drawer
 Pedicure/manicure kit and lotions
 Travel case for makeup, sprays, Moroccan oil
Not much in the bottom two drawers, but everything has a place. I like how the divider keeps the cans from rolling around every time I open the drawer.
  I still need to put up a mirror, I found one I like at Family Dollar pretty reasonable, just have to pick it up.

  I am pretty pleased at how this project turned out. For less than $15.00 I have a beautiful (to me) place to keep all my "girl" stuff, everything has a home, and things are visible, only one layer deep so that it is all easy to find. Not to mention the desk is probably happy to be out in a sunny room, where it is used every day ;)
  I hope this post inspires you to get creative and carve out a little something for yourself in your home.

Sunday, January 18, 2015

Walking and Trumpets

Jackson took two steps on Friday! Then, yesterday he was standing free style a whole lot, and took another step! There were several times when I could tell by the look on his face that he was thinking of taking more steps. He would be holding on to a piece of furniture with one hand and eyeing another for several seconds, shifting his feet like he was going to go for it! Also on Friday, he figured out his trumpet! It was so cute, I was folding laundry in the livingroom and he was in the playpen in the kitchen. All of a sudden I heard this soft blowing noise and went to see what he was doing. Joe caught him on camera Saturday morning.

 Freezing rain outside. Yuck. So we are home-bound today. Think I'm going to try baking bread in the wood cookstove today, we shall see...

  For breakfast: Eggs over easy, scrapple, potato hash with onions, mushrooms, salt pork, and of course, coffee.


 Last night I was cuddling with Big Boy in our bed, humming and running my fingers through his hair. He was so still, I thought he fell asleep, so I stopped humming. A few seconds later, I heard him hum ever so quietly. It was so cute and precious, I almost teared up :) I hope you have a good day all!

Monday, January 12, 2015

Organizing Baby

Here are a couple of the projects I've done recently.

 The first one is a chest-turned-changing-table. I used to have a changing table pad on top of a large, old record player Darlin got at an auction years ago for $5. Diaper supplies was near by in a large, white basket on a stool. And that worked great. Until the day I moved the record player to sweep behind it (as I hadn't done so, since it was moved there over a year earlier!). The whole bottom of it just started to crumble away! I tried to salvage it, but the bottom was so messed up, the whole thing teeter-tottered side to side. Not good. So, out with the record player :( and in with...well...hmmmm. It forced me to be creative, since I wasn't keen on lugging my now 22lb son upstairs every time he needed a diaper change. That gets exhausting when you're six months pregnant.
 In the kitchen, next to the table, I had this chest with two compartments and a drawer. I had craft supplies for my siblings and our games and such in it. Things that are normally used at the table. I downsized on the craft stuff, and relocated the games to a nearby room. Then I moved the chest to the livingroom and got to work.
 I covered the bottom of the drawer with pretty contact paper from Dollar Tree. The red basket was re-purposed from the downstairs "office". Inside are diapers, of course, wipes, rash creams, lotion, Germ-x, a small toy to keep him occupied, and tucked in behind the wipes is an extra pad cover.
 Then, because our bathroom is ridiculously small, I took this opportunity to move all of Jackson's bath things out of the bathroom and into the chest.
 Hooded towels and washcloths
 Another re-purposed basket to hold shampoos, toys, nail clippers, and baby oil.
 The downsized craft compartment holds a can of crayons, paints, playdough, cards, paper, etc.

Project number two: For Jackson's birthday and for Christmas, he got some gift cards and cash. The gracious givers told me to get him "something he needs". So after taking note that he had more than enough clothing and a bunch of new toys there was really only one thing he did need. A place to keep all his toys and books! The stuff was everywhere, floating around the house. I tried in vain to keep them in baskets, but it was such an overwhelming assortment, that Jackson didn't play with them much. Not to mention the cluttered mess of it all, leading to me scooping and tossing into random baskets in an attempt to keep from tripping on everything. (He liked to dump out all the baskets and crawl away to play with pots and pans and the like). After doing some online browsing, we got him a set of cubbies and fabric totes at Target (some totes from Walmart) and ta-da!


I can't believe how much this has helped. We've been using it for almost a month now, and it is still functioning the way we hoped it would. He still has some books downstairs, but this is the majority of them. I like that there is still room to grow, because that is just inevitable.
 The totes on the very bottom have (left to right) cars, trains, trucks, things with wheels. The middle has an assortment of misfits; phone, shape sorter, weeble wabbles, etc. The last has stuffed animals.
 Then above the stuffed animals are all the ''lego'' blocks. The other two are empty for now. He has a small basket of toys in his playpen in the kitchen, and a toy box in the livingroom. That way, no matter if I'm cooking, folding laundry, or cleaning upstairs, he always has something around that he can play with.

    My favorite part, besides it looking neat and tidy, is that in the mornings when Jackson gets up, I put him on the floor in his room (with the gate up) and he will play with his toys! And I get to have a cup of coffee, quiet time with Jesus and read my Bible. Some days I don't get as much time as I like, but he does pretty good most of the time. Afterwards, sometimes I make a game out of clean up time and he helps for about 30 seconds lol. He will put stuff in the totes and we clap and say "Yay! Good job!" But then he is more interested in emptying them out again :)
The cubbie cost 39.00 and the totes were $5.00 each. But it is so worth it. I'd love to replace the broken bookshelf in our livingroom some day with a four compartment cubbie. When it comes to getting organizing products for the house, I often think of Johnny Cash's song "One piece at a Time", but only, I wish it just cost a dime!

Coming up: How I made my own vanity.
Saturday, January 10, 2015

Nostalgic for Spring

I have really been itching for Spring lately. I think this Winter's unusual weather has brought on cabin fever a little earlier this year. It will snow, then melt away, temperatures sometimes getting into the high 30's to low 40's. Well, except this past week. It has hardly gotten above 0. Burr! Let me just tell you; there is nothing very romantic about an old farmhouse in the dead of Winter!. Once you find out how drafty the place is, it takes the blissful feeling outta ya faster than a skim-milk-ghost! We have one room downstairs that is quite cold. I don't think the walls were insulated at all! Last Winter, the ice on the roof started to melt and some water backed up under the shingles. So I had a large mixing bowl set up to catch the drips. I forgot to dump it after Darlin cleared the roof off. Well, that night it froze. And I mean solid. *Sigh*. Re-insulating is on our home repair/improvement list.
   Anyway, lately I find myself daydreaming more and more about getting our garden in, cloth diapers drying on the line, and sound of the "sweet weather birds" (what my Great-Grammie Ruth used to call White Throated Sparrows) singing upon their return. I treasure those few, lovely weeks in Spring when it is warm enough to leave the windows open in the afternoon, the grass is slowly appearing, but it is still too cool for the pesky skeeters and black flies to come out.
    I love the fresh breeze drifting in the house, the sun shining bright, as I tackle Spring cleaning and everything smelling fresh and new. Not to mention I miss my chickens wandering around the yard, eating bugs and greens, scratching around and fluffing themselves in the warm sun.
  I'm sick of white. I'm sick of cold, and ice. I'm sick of short days and everything looking dead. I'm craving green, and I'll even take all the mud now, too.

Finished all the dishes. Thought I'd snap a picture of the sink after I shined it. Because even with only three people in the house, it doesn't stay this way very long! A shiny sink makes me happy. ;)
 Turkey sandwich for lunch with tomatoes, romaine lettuce, onions, bacon and cheese. And iced tea, of course. Mmmm.
 A handful of whole cloves in a small skillet of water set to simmer on the cookstove makes for a nice aroma wafting through the kitchen.
Spring, please get here soon, I miss you so much!!!!!!!!!

Friday, January 9, 2015

Piglets in the Oven

I never imagined I would say I had pigs in my oven. Until Tuesday, that is. Our guinea hog surprised us with 4 piglets in -16*, windy temperatures. When we got her late this past Summer, the guy we bought her from said she was probably bred. Well, we waited beyond the allotted time for a guinea hog (3 months, 3 weeks and 3 days) and just assumed she was not bred. Well lo and behold, our boar must have bred her after they had been here a while...

I stayed up until ten o'clock the night before, turning this diaper box into an organizer. I was going to make a post about it. I had planned to use it in the trunk of my car. But we brought the piglets inside to dry them off so they wouldn't freeze and I needed a box to put them in:( 


 I had to rip out the dividers! :( Those piglets had better be awesome pigs!
 Here are the first three in the oven. We had a fire going in the cook stove earlier, so the oven was still nice and warm.


 Back out in the barn, in the nest that mama pig made...
 Under the heat lamp.

They are so cute! All are doing well and growing!